how to make a tarpaulin design in photoshop
The designer's guide to image slicing in Photoshop
When working with images on the web, there'll be times when you want to load a large image, either as a main image on a page or for a background. The downside is you will immediately run into several problems. First off is the actual file size. Second is the resolution. Third is compression.
If the file is large it will take a long time to load, especially for users with a slower connection. You can reduce the file size with compression but you can only go so far before image quality will begin to suffer.
The solution to your problem is to use image slicing, which will allow you to load the image, a piece at a time, until the entire image appears on your screen.
How it works
Here is an overview of how it works: when you have an image that will take too long to load on its own, you take advantage of the Slicing tool in Photoshop to cut the image into smaller sections. These images will be saved as a separate file and optimized using the Save for Web command.
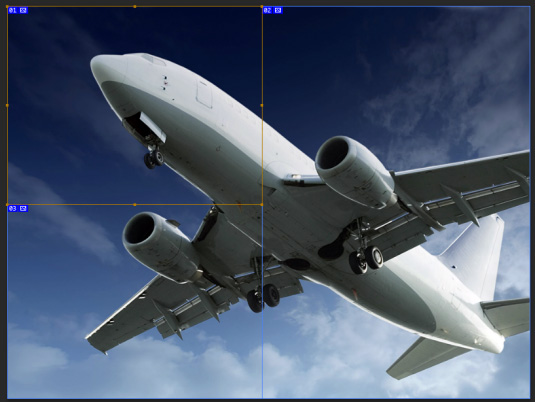
In addition, Photoshop creates the HTML or CSS necessary to display the sliced image. When used in a web page, each image will be reassembled in the browser using the HTML or CSS mentioned earlier to create a smooth result. Here is an example of a sliced image.
Slicing basics
To keep things simple we will only work with the Slice tool on one layer. In this example I am working with an image which is 960x722px. Some things you need to know before we start:
- When creating slices, you can do using the Slice tool or you can build them using layers.
- Slices can be selected using the Slice Select tool.
- You can move, size, or align the slice with other slices. In addition you can designate a name for the slice, type and URL.
- Each slice can be optimized using the settings in the Save for Web dialog box.
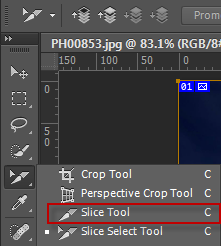
To get started press C on your keyboard and click on the Slice tool.
When you create slices you can choose from three settings: Normal, Fixed Aspect Ratio, and Fixed Size.
- Normal: This will become a slice depending on where you begin and end the box you draw on the image.
- Fixed Aspect Ratio: This is where you set a height and width using whole numbers. To elaborate, if you want to create a slice with a three to one ratio, you would enter 3 for the height and 1 for the width.
- Fixed Size: This is where you set the height and width of the slice in pixels.
You have several options when slicing an image. If accuracy is not important, you can slice the image manually and if necessary, move the completed slices around using the Slice Select Tool.
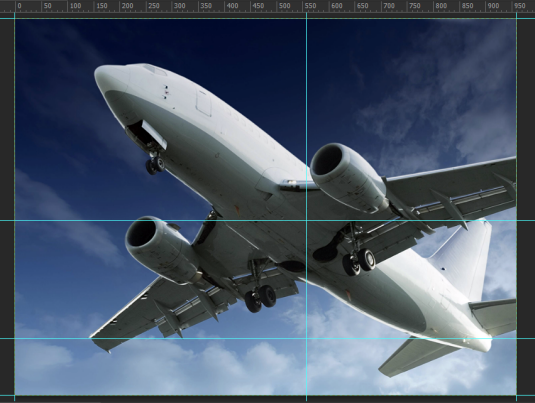
If accuracy is important, use guidelines to map out the important sections in the image.

At the top of the Slicing menu bar, click on the C or the Slice tool to activate it and in the Slice menu bar above the image, click on the Slices from Guides button.
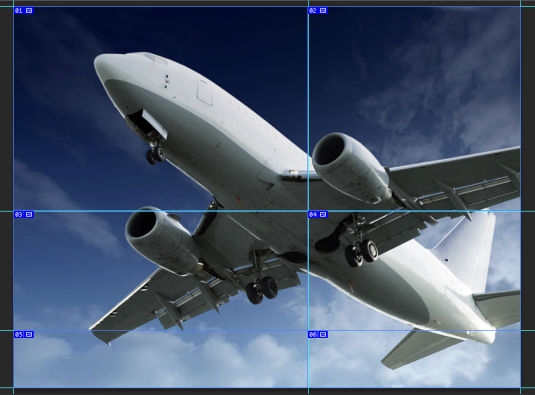
The slices are automatically drawn for you. You can then reposition the slices with the Slice Select Tool.
Editing slice information
After each Slice has been created, you can edit information about the slice in one of two ways.
The first thing to do is click on the Slice Select Tool, click on the slice you want to edit then click on the icon beside Show Auto Slices button in the menu bar.

Another option is to right-click on the slice and in the popup menu, click on Edit Slice Options.
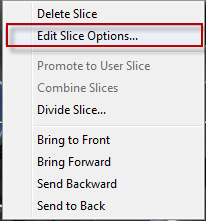
Both choices will bring up the Slice Options dialog box.
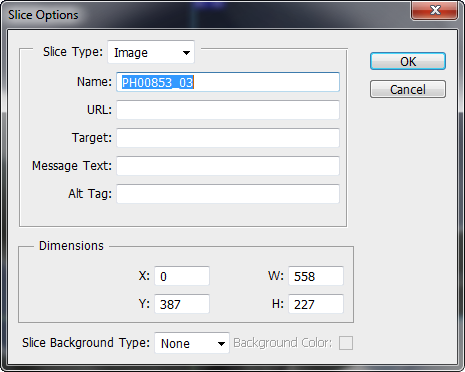
As you can see, there are many settings. You can change the name of the slice, you can assign a URL to it so when it is clicked on in the browser it will take you to a different location, you can set the Target (_blank, _self, _parent, _top), Message Text, Alt Tag, Dimensions of the slice and more.
Save for web
Once you are satisfied with your layout, go to File>Save for Web.
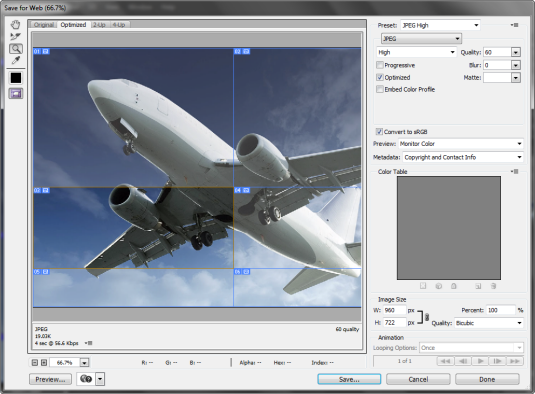
Here, you can set the file type and compression for each slice or go with the default listed in the Save for Web dialog box. Once you are satisfied with your settings, click on the Save button.
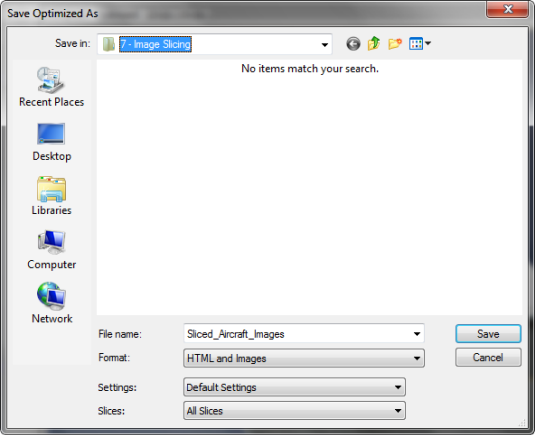
This brings up the Saved Optimized As dialog box. At the bottom of the box are several important settings.
- Format: You have three options which are HTML and Images, Images Only, and HTML Only.
- Settings: Your options are Custom, Background Image, Default Settings, XHTML, and Other.
- Slices: Your options are All Slices, All User Slices, and Selected Slices.
For this tutorial I am using HTML and Images, Default Settings and All Slices. When you are satisfied with your settings, choose the folder where you want to save the files and click on the Save button. This creates an HTML file and saves all six images into a folder.
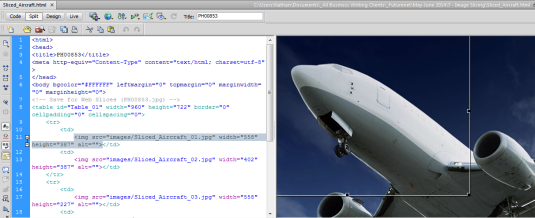
Here is a split screen view of the HTML file in Adobe Dreamweaver. As you can see, the code is straightforward and easy to use.
Conclusion
As you can see, image slicing is useful if you have a large image. By breaking it into sections, portions of the image will begin to load first, letting the user know more is to come. This is helpful for users with a slow connection.
For more information, have a look at the following articles:
- Slicing Web Pages
- HTML Options for Slices
Words: Nathan Segal
Related articles
how to make a tarpaulin design in photoshop
Source: https://www.creativebloq.com/adobe/image-slicing-photoshop-61412081